Headlight bulbs are one of those things that deteriorate over time. While modern LED units last considerably longer these days, many cars still use Halogen bulbs that have a finite lifespan. Thankfully, a blown headlight bulb is a quick fix, provided you have replacement bulbs on standby.
Related: An A-Ha! Maintenance Moment – getting those headlight covers clean!
On the MINI hatch (most models equipped with Halogen bulbs) this is a task that you can tackle yourself without needing any special tools or equipment. All you will need is a few spare minutes and a little patience, and of course, this handy guide to walk you through the steps.
You will need:
- Replacement H2 bulbs
- 10-minutes to spare
How to:
1. Locate the hood release catch and open the bonnet.

2. Open the bonnet and support with the supplied stay.

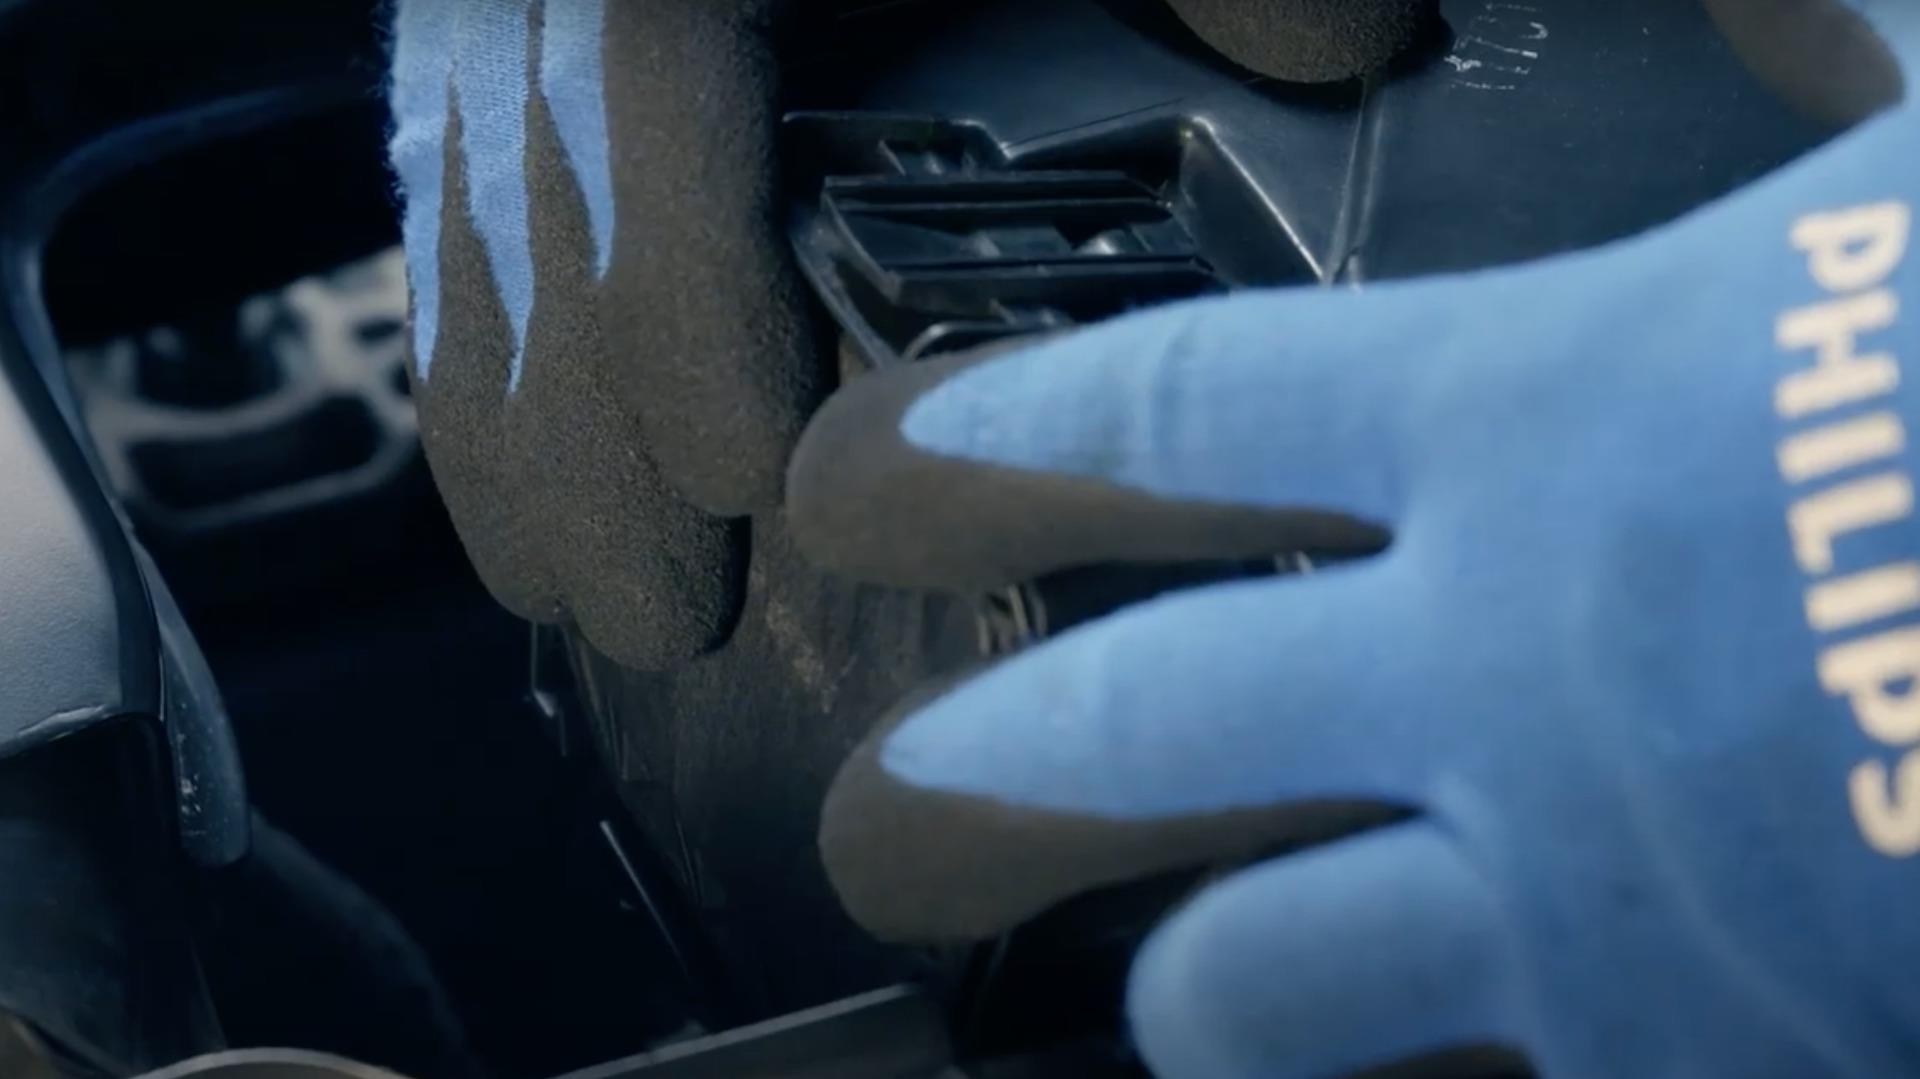
3. Unclip the rear panel of the headlight housing.

4. Pull off the black electrical connector on the back of the bulb. Do not pull on the wires.
5. Squeeze the two legs of the spring clip to release the bulb.

6. Remove the old bulb.
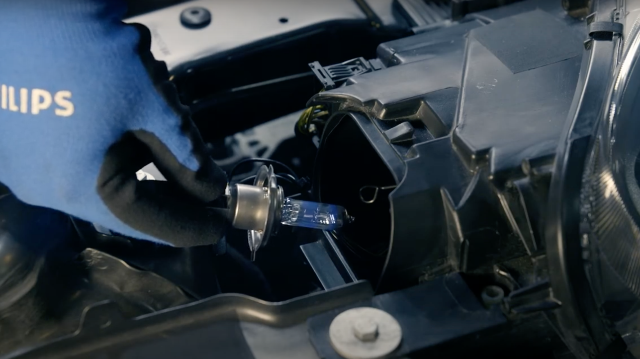
7. Insert the new H2 bulb and ensure it seats correctly.
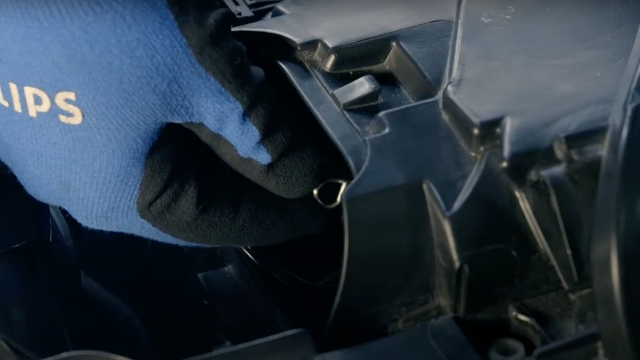
8. Replace the spring clip.

9. Reinsert the electrical connector.

10. Refix the rear panel of the housing.
11. Close the bonnet and test the lights.
For a detailed video on the process, check out the Philips Automotive Lighting Europe YouTube video here.