The friendly, cheeky Suzuki Ignis is a compact crossover that offers loads of character and affordable running costs. From its agreeable purchase price to its low running costs, the Suzuki Ignis has made sure that motoring doesn't have to cost an arm and a leg to be good. It's a charming little machine and those that drive them love them, and rightly so.
Related: Top six accessories you should retrofit on your used Suzuki Ignis
One thing that will not escape the Ignis is repairs though. While it has proven itself to be a reliable form of transportation, there are items that are going to wear out and need replacing. Headlight bulbs are one of those.

GLX models are able to dodge this issue, as they are equipped with LED headlights from the factory. LED units have a considerably longer lifespan and should not present any fault during your ownership. Should you be struggling with a non-functioning headlight on a GLX model, we recommend you consult a dealership for further advice.
GL versions weren't as lucky and these derivatives are fitted with halogen beam headlights. These use an incandescent bulb and from time to time, these can burn out or fail. We'll show you how to change these in no time at all.
You will need:
- Replacement bulbs (x2): The Suzuki Ignis GL uses H4 Halogen bulbs
- A soft cloth
Time to complete:
- 10-minutes
How to:
1. Park the car, switch off the headlights and the ignition. Apply the handbrake
2. Open the bonnet and secure it in the open position with the supplied stay

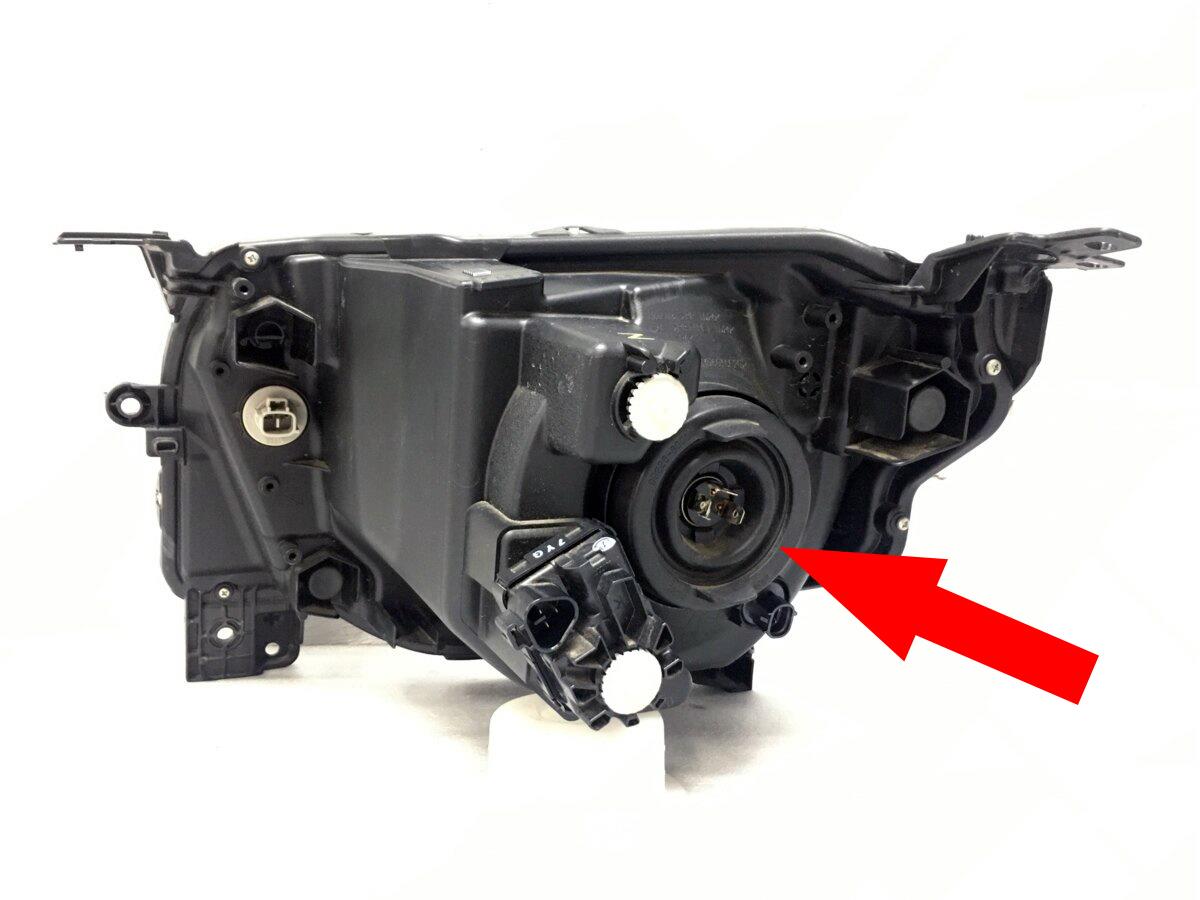
3. Locate the rear of the headlight housing and main beam electrical connector

4. Unclip the electrical connector by squeezing the sides and pulling it away from the housing

5. Remove the rubber dust boot by pulling on the supplied tabs

6. Unclip the retaining spring that holds the bulb in place
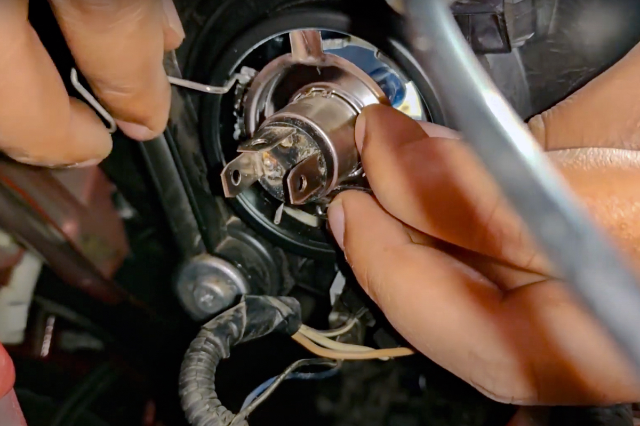
7. Remove the bulb
8. Insert the new bulb, taking care not to touch the glass (the cloth will help here)
9. Replace the retaining clip
10. Replace the rubber boot
11. Reconnect the electrical connector
12. Close bonnet and test.
13. Repeat for the other side.