


Shine bright like a diamond
The headlights on your car ensure that you can see at night and be seen during the day. Keeping them in good working order is of utmost importance.
Related: Top 3 Chevrolet Captiva trims head to head: here’s our winner
As in previous headlight articles such as for the Tucson and Grandland X, you didn’t need any tools but things are slightly different with the Captiva.
In order to access the rear of the headlight clusters, you will need to remove them from the car.
Let’s get started
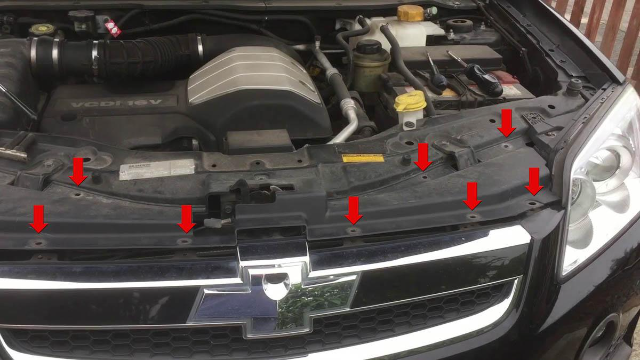
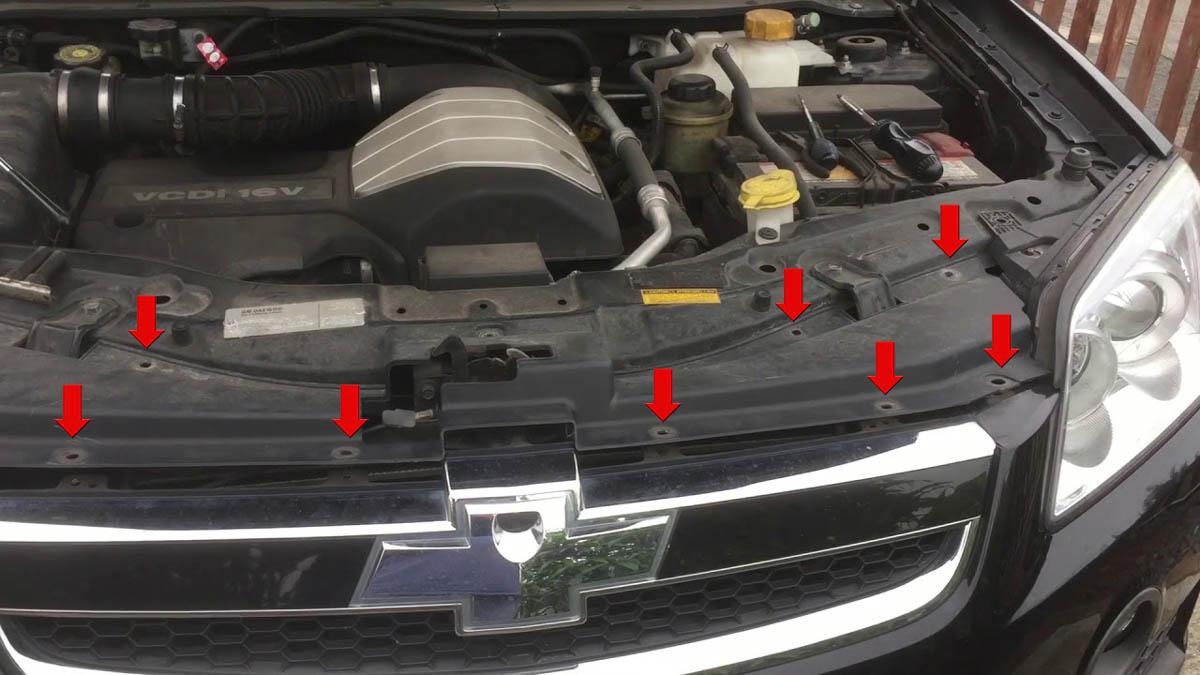
1. Remove the panel that covers the grille and radiator support.
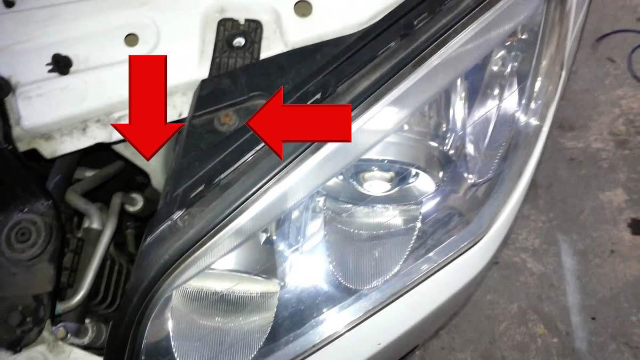
2. Begin by removing the small screws on top of the headlight at each corner.
3. Locate the crews that are recessed down the side of the cluster.
4. The cluster should simply pop out of place.
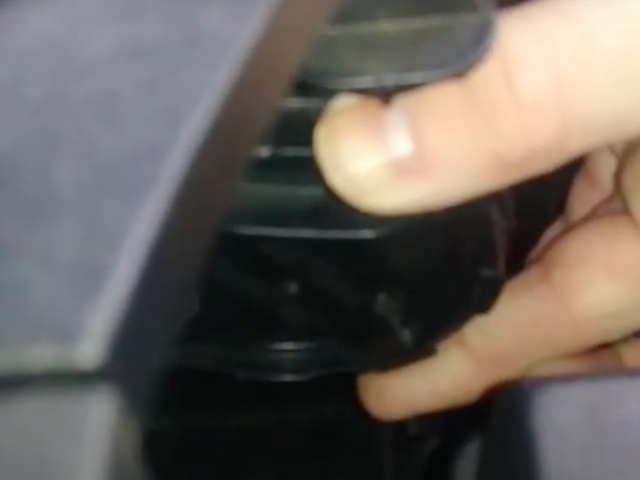
5. Locate the screw cap on the back of the housing and turn counterclockwise.

6. Remove the connector plug.
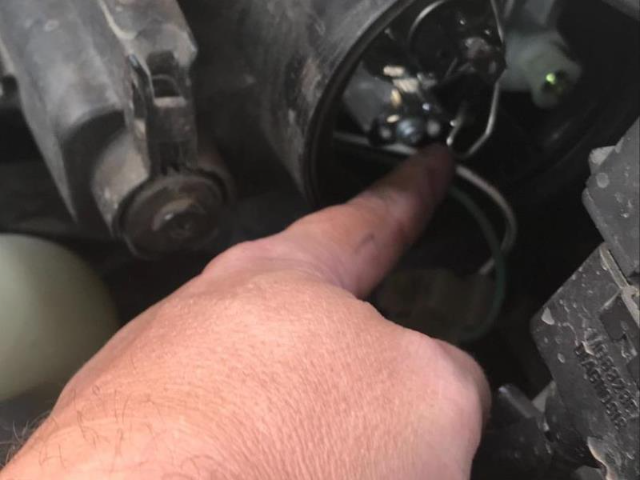
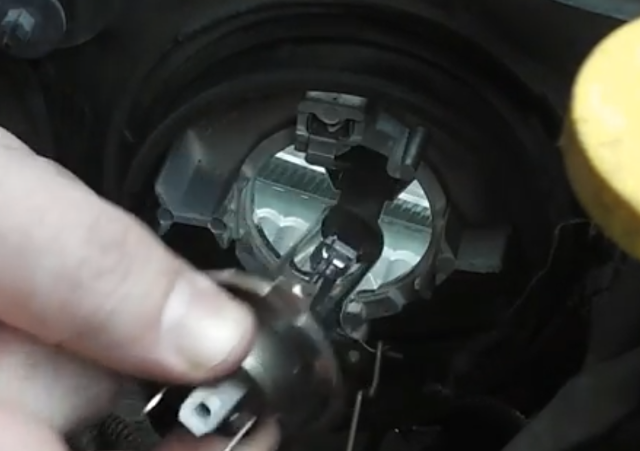
7. Remove the retaining clip.

8. Remove the old bulb.
9. Replace the bulb and reassemble in reverse order.
It is a relatively simple job that can be accomplished in a few minutes so let’s keep those lights shining bright!


