




Suzuki’s Baleno is in essence a slightly larger version of the Swift. It uses a 68 kW 4-cylinder engine to produce very solid performance figures, thanks to the Baleno’s overall un-laden weight of just over 900 kg. It enjoys a sub-11-second 0-100 km/h sprint time and a top speed of close to 180 km/h.
The Baleno is available in three models and costs between R221 900 for the manual GL model and R279 900 for the GLX Automatic.
Changing the battery on your Baleno

The Baleno was introduced here towards the end of 2016 so it is unlikely that owners will need to replace the battery just yet. But unforeseen circumstances can happen, and if you ever have to replace the battery yourself when you are far away from home (or your nearest Suzuki dealer) it helps to understand the correct procedures.
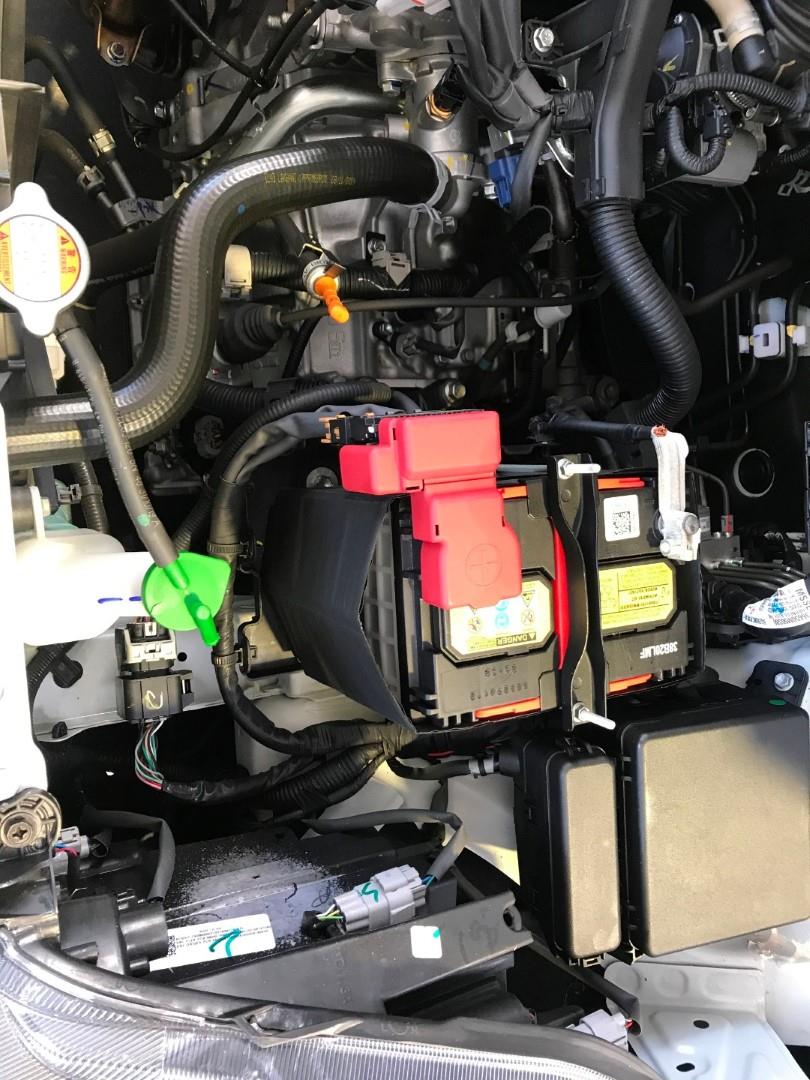
Fortunately, the Baleno has an extremely accessible battery, and you will need only a 10 mm spanner to remove it and replace it with a new one.
Step-by-step guide to Suzuki Baleno battery replacement
1. Identify the battery, which is located to the right-hand-side of the engine, when viewed from the front.
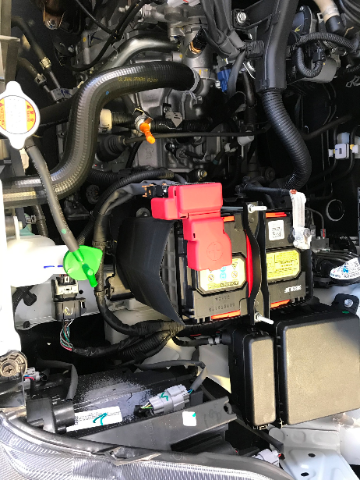
2. Remove the battery’s earth or negative cable, denoted by a minus (-) sign on the battery cae at this terminal. This is an essential safety step, as by disconnecting the earth cable you prevent any likelihood of under-bonnet short circuits occurring while you work on the battery. Use a 10 mm spanner to loosen the clamp, remove it from the battery terminal, and tuck the cable out of the way.
