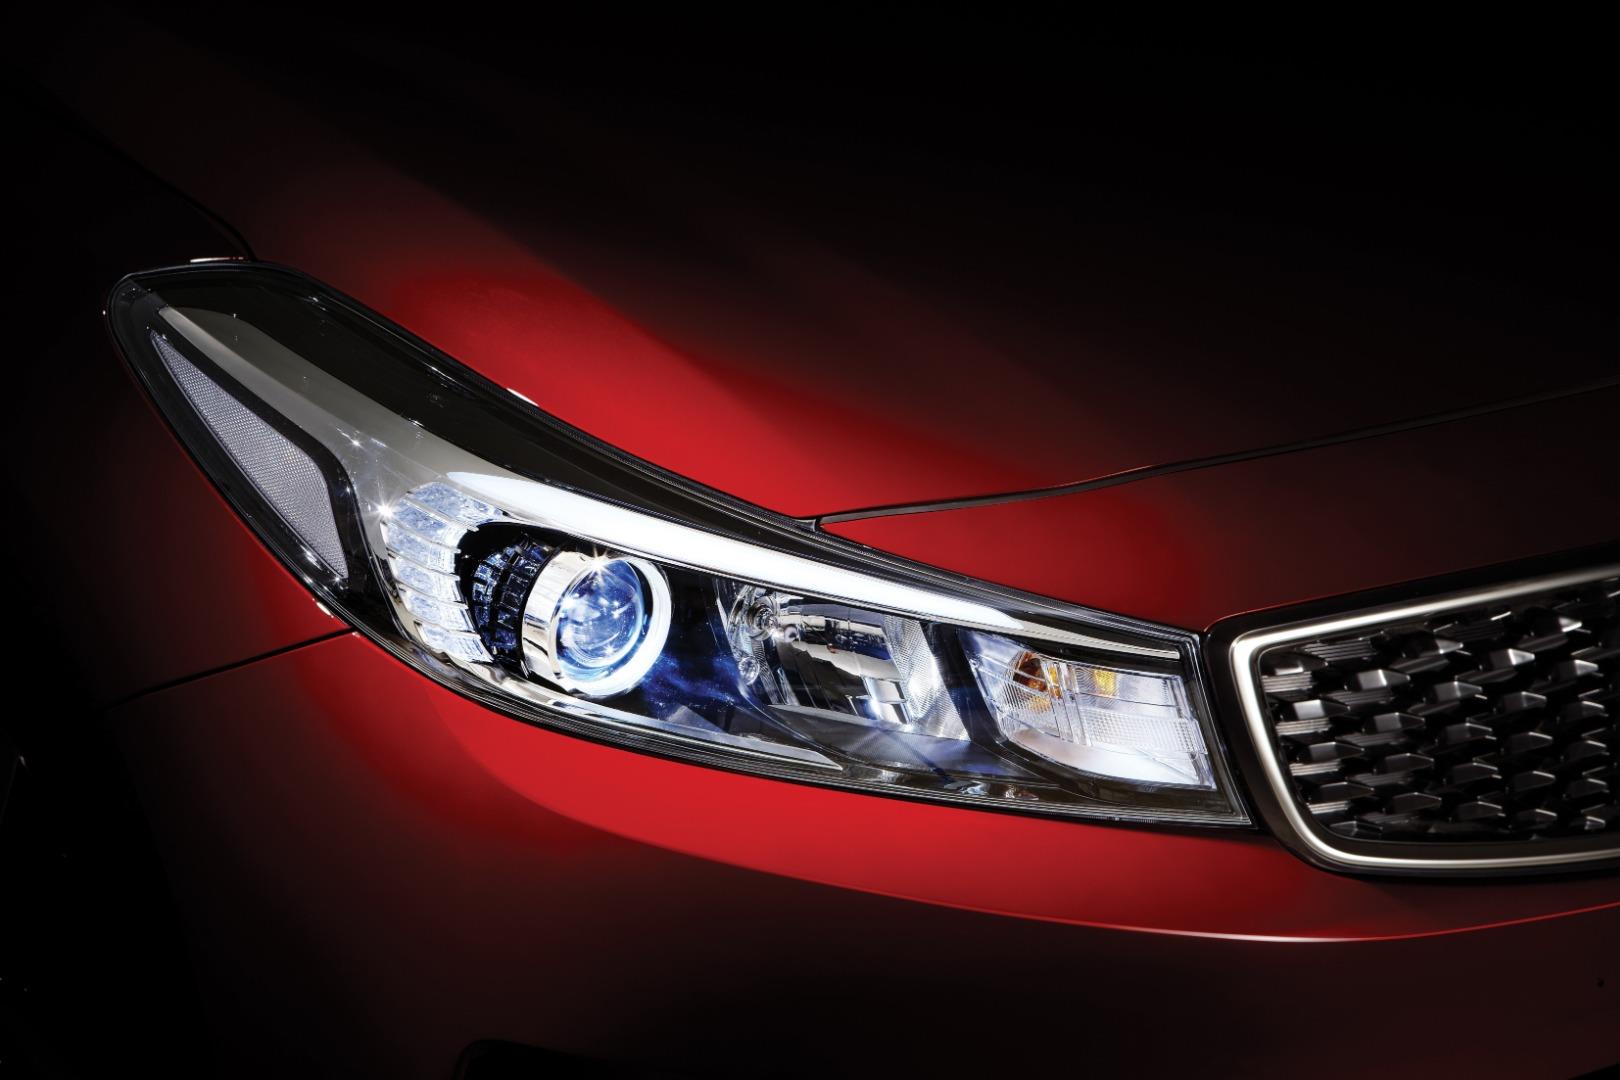

Getting stuck with a blown headlight bulb isn't only an inconvenience, it's a safety hazard too. Running without lights or with only one light is not safe at all and the biggest concern is being seen. Even with a single headlight, you may be mistaken for a motorcycle and not given the amount of room you require on the road.
Related: Top 5 Kia Cerato articles on AutoTrader
Fear not because replacing a headlight bulb is a relatively quick and easy task that shouldn't require any special tools. Here's how you go about it.
You will need:
- Spare bulbs (consult your owners handbook for the correct type ie: H1, H4, etc)
- Gloves
- Soft cloth
- 10-min to spare
How to:
1. Open the bonnet and secure it with the stay.

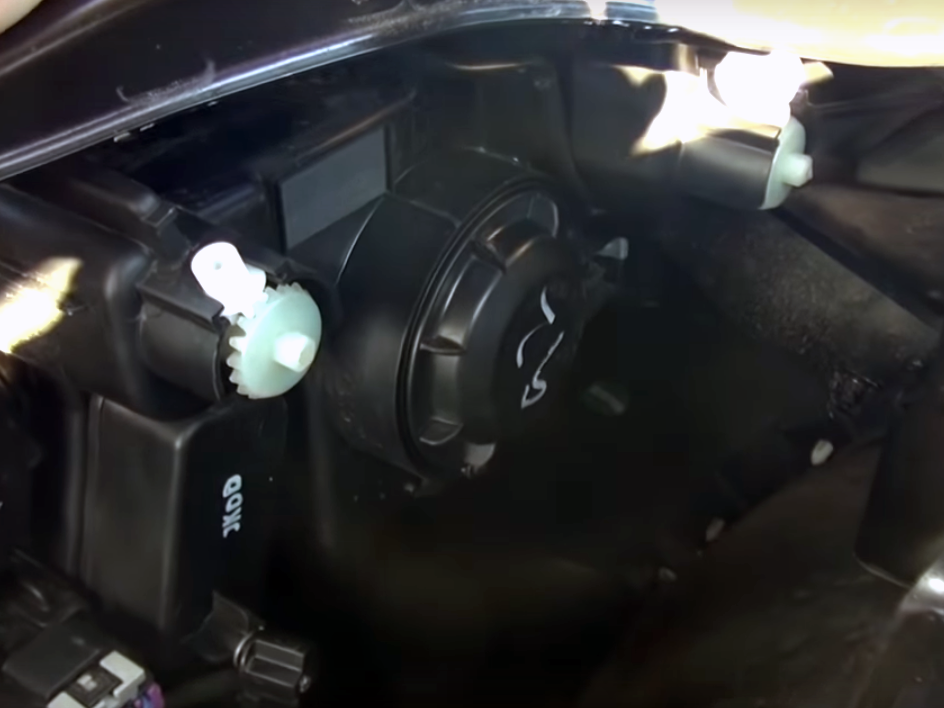
2. Locate the rear of the headlight assembly and locate the rear cap of the blown bulb.

3. Unscrew the rear cap from the housing. This should require less than 1/4 turn.

4. Disconnect the electrical plug from the rear of the bulb.

5. Unclip the retaining spring from the catch.

6. Remove the bulb, taking care not to touch the glass.
7. Insert the new bulb, taking care not to touch the glass. Ensure the bulb is correctly orientated.
8. Replace the spring retainer in the clip.
9. Connect the electrical connector.
10. Replace the rear cap and screw on.
11. Test the light.
Recommended next:
6 KIA Cerato accessories you didn’t know you needed.
Family sedan shootout! Toyota Corolla vs Kia Cerato vs Ford Focus