

Peugeot’s 308 was a stylish mid-sized hatchback that was sold here from 2009 until mid-2019. The first-generation model was built between 2007 and 2013 and it is this model that is the subject of our headlight globe change.
The 308 was a rather low-volume seller here, but it remains a stylish car. It was offered here with a 88 kW four-cylinder 1,6-litre engine, as well as with a turbocharged 115 kW petrol engine and 110 kW turbo diesel engine.
The 308 was reluctantly dropped from the South African Peugeot line-up in mid-2019. AutoTrader currently lists over 40 examples of Used Peugeot 308 models for sale.
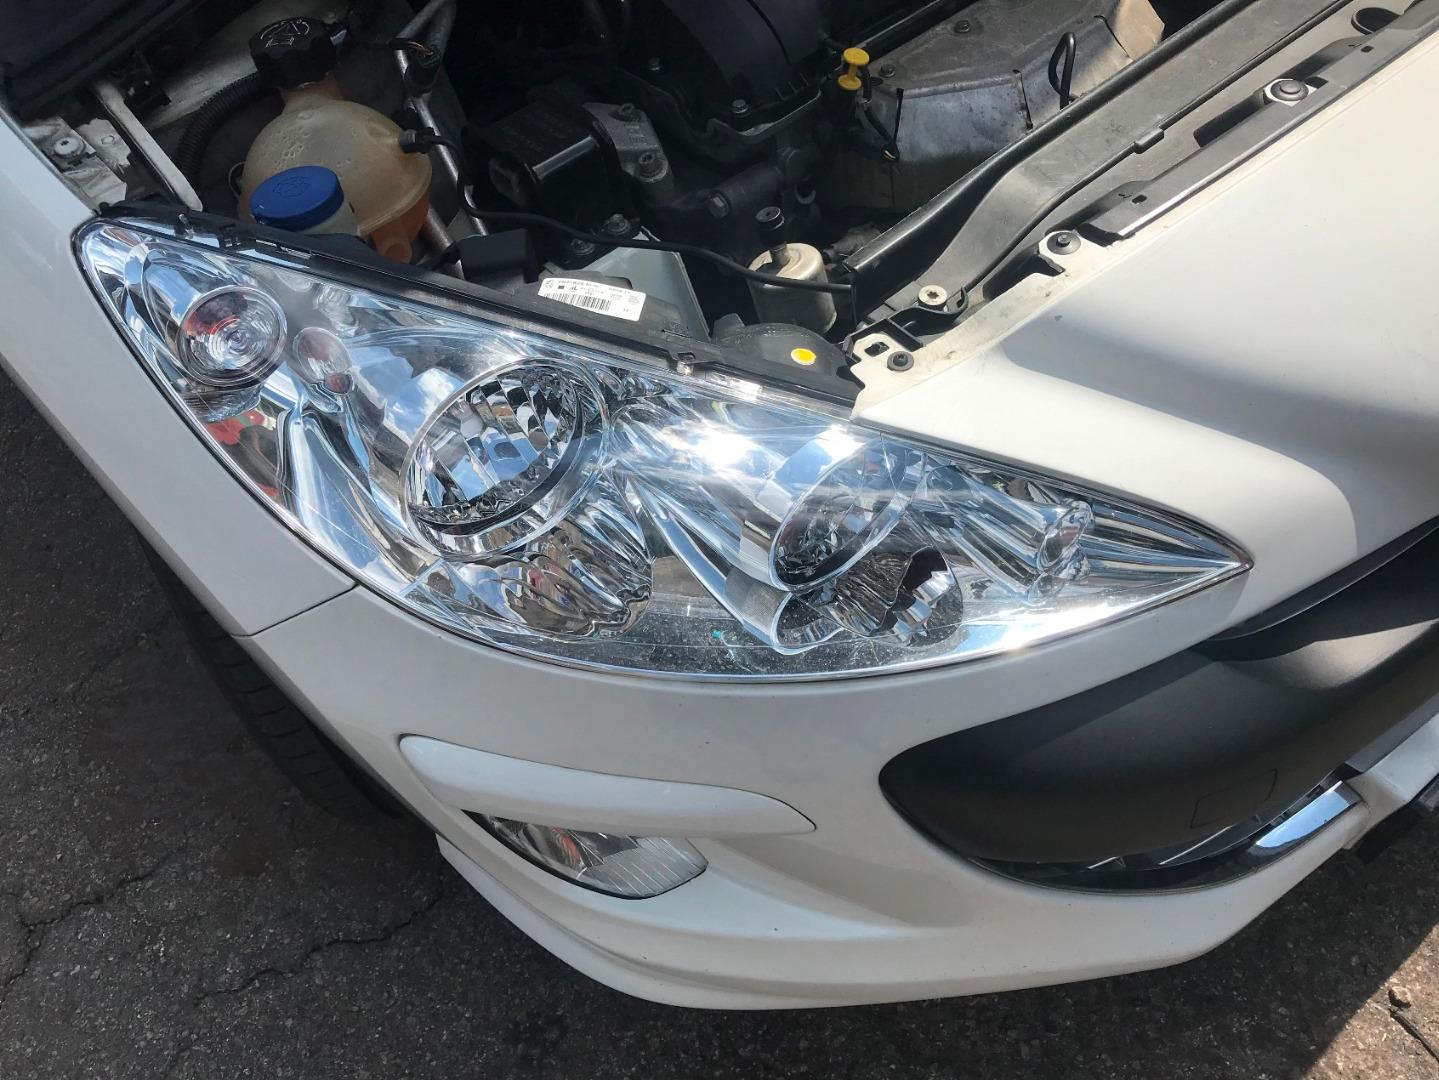
The 308 is noted for its large and prominent sloping headlight clusters, which contain no less than four separate lights each. Fortunately it is not necessary to remove the headlight unit from the car to effect a globe replacement for the main beam. The main globes on either headlight are easily accessible under the bonnet and are covered by a plastic cover with a lip on the uppermost side.
Step-by-step main globe replacement on a first-gen Peugeot 308
1.You won’t need any special tools but a compact torch will make your life a lot easier.

2. Identify the black plastic cover that provides access to the globe. This is located alongside a cluster of multi-coloured wires leading into the headlight unit. But you won’t need to remove these.

3. Grab the lip of the plastic cover and peel it away from its housing. Store the cover in a safe place.

4.Remove the light cable socket from the back of the globe. You may struggle to get your head into a position to see this, but it is easy to remove as it pulls straight out. Note which way the terminal slots are located on this socket, as you will have to install it the same way.


5. The globe is held in position by a steel spring clip. You will need to unhook this clip to remove the globe. Try to get your head low enough to see the clip. It needs to be squeezed on one side before it unclips. Then you can flip it to one side. The other side of the clip remains attached to the light housing so you won’t lose it.


7. That tab on the new globe has to face directly upwards when you install it. You will have to use your sense of feel to wiggle the new globe fully home.

8. Now secure the spring-steel retaining clip, making sure it is secure on its catch.

9. The next step is to re-connect the light cable socket. It only connects one way on the globe terminals
10.The final step is to replace the plastic globe-access cover. It simply slips back onto the rim of the bulb-access hole.

Recommended next:
Peugeot 308 – The Sleek Sleeper