
Maintenance you can do yourself: How to change the oil
Maintenance you can do yourself: How to change the oil




By Stuart Johnston
Doing your own oil changes on your car can save you a fair bit of cash. But bear in mind that you should only do this type of maintenance on cars that are already out-of-warranty. Any non-dealer work done on your car will invalidate the warranty, so check whether your car is still under warranty or not.
Doing you own oil change on your car can save you a fair amount in labour costs charged by your local garage-man. You’ll need some basic tools, such as the correct-size ring or socket spanner to loosen the drain plug. Reasonable-quality ring –flat spanner sets are not expensive, so invest in a complete set ranging from around 6 mm to 19 mm. These you can obtain from your local hardware store or spares shop. For certain types of oil filters you may need to by a special tool designed to loosen the filter.
Now, let's get started on changing that oil...
Before starting
You will need to park your car on a level surface, so make sure you have one at your disposal. Draining oil can get messy, so wear old clothes. It is also well worth laying down some flattened cardboard underneath the engine, to catch any drips that might occur.
Buy the right oil and oil filter
Every time you change the oil, you must also change the oil filter. Find out what specification of oil and oil filter you will need for your car’s make and model.
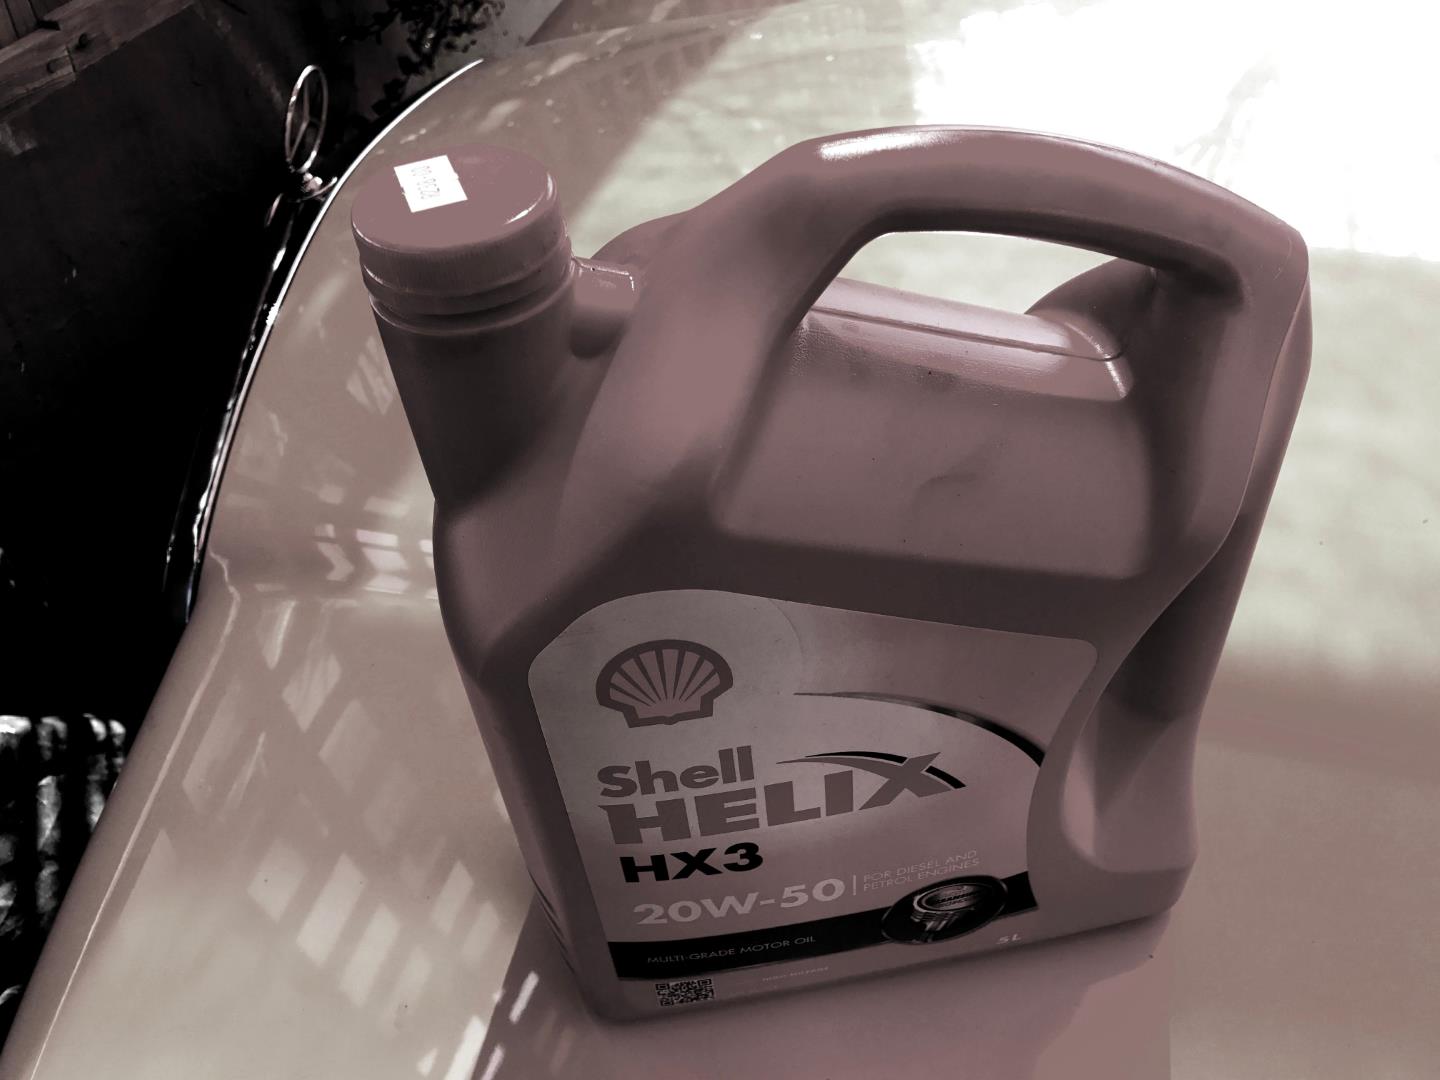
We recommend using the same oil as originally specified for your car, and a dealership will be able to supply you with this information. Good spares shops should also have the right information on the oil needed for your car’s model.
How much oil?
Generally most cars take slightly less than five litres of oil. Check how much the oil capacity is on your car. Most owner’s handbooks have this information.
A basin or kitty litter tray is handy for drainage
The oil will need to be drained into a container that is flat enough to slide in under the sump – the lowest part of your car’s engine, where the oil is housed. A cheap, handy type of container is a kitty-litre tray, which is robust, and will have enough capacity to hold the drained oil. If you want to check the capacity, pour in water from old two-litre cold drink bottles to estimate if your oil tray will hold the amount you are about to drain.
Warm the engine before draining, so it flows easily
Cold engine oil drains sluggishly, so it is a good idea to start the engine and let it run for a minute or so, before draining. But don’t let it get hot, as your hands and arms will come into contact with engine parts when draining the oil and removing the filter.
Now drain the oil
To drain the oil you simply loosen the sump plug, or draining bolt, using the correct sized ring or socket spanner. Loosen the bolt gradually, until you can begin unscrewing it by hand. Then place the drainage container in position and screw the drain plug all the way out. The oil will come out in quite a strong flow that may surprise you. Place the tray to allow for the fact that the oil may drain outwards a little before draining downwards. Allow all the old oil to drain and let it drip--drain until all the old oil is out. Then wipe the surrounding area clean with a rag.
Importantly, replace the drain plug before doing anything else.
It is obviously vital to replace the oil sump plug or drainage bolt, before doing anything else. Make this bolt tight, using hand leverage on a spanner, but don’t use excessive pressure that will make removing it again difficult.
Now, add the new oil to the engine through the oil filling orifice on the top of engine.
It will be helpful, to avoid messing, to use a funnel to add the new oil to the engine. Oil poured from a five-litre container tends to surge and you may miss the hole and spill a fair amount on your car’s engine. Gauge how much you are adding, then stop and check the oil level using the dip stick. Add oil in stages, so you don’t overfill the engine.
Don’t start the car yet, because the filter still needs to be changed
Brand-new oil needs to be filtered with a brand-new filter. Now that the engine has oil, and the drainage plug is tightened with a spanner, you can set about replacing the filter with the new one you bought at the same time you purchased the new oil.
Check where the oil filter is located
There are generally two types of oil filters fitted to modern cars. Some are of spin-on sealed-unit type, and others are of the replaceable cartridge type.
The cartridge-canister types are the easiest to replace, as they are normally contained in a remote housing that is easily accessible by reaching into the engine compartment. Use a ring spanner to loosen the top of the canister housing, remove the locating bolt and the canister housing top (which may be slightly spring-loaded) and withdraw the old filter, which comes with a little folding handle to enable this. Insert the new cartridge, replace the canister top making sure all washers are replaced as well for sealing, and screw down tightly, but not too tightly. Remember, you will want to do this again sometime!
Spin-on filters can be difficult to remove
With spin on filters: A handy tip is that, while the engine is still cold (before you have started it to warm up the oil slightly before draining), check that you can, in fact, unscrew the spin-on-type filter. These spin-on containers are designed to be hand-tightened, but they are cylindrical and there are no easily grip-able surfaces. If you can, using your hands, loosen it slightly, then re-tighten it gently to prevent drips while you set about first slightly warming the engine and then draining the oil. The reason for doing this loosen-and-re-tighten check, is that once you have warmed the engine it may make your life more difficult.
If you battle to loosen the spin-on oil filter
The spin-on sealed units are often located in awkward areas on the engine block. In addition, while they are hand-tightened in position, time and heat cycles as the engine warms up and cools down can make them difficult to remove by hand.
Spares shops sell a special tool consisting of a chain loop and handle that grips the smooth round surface of the spin-on canister, giving you the leverage to unscrew it.
Or you can punch a hole through the old filter with a hammer and screw driver
A crude but effective way of loosening an old filter is to punch a Phillips screw driver (star head) into the old filter (they are made of thin metal) , and you can then apply anti-clockwise leverage on the screw driver handle to loosen.
But this can be messy, as the filter will still contain a small amount of oil, so have rags ready and that cardboard under the car to catch any oil drips.
Unscrew the old filter, screw the new one in by hand, and tighten it so that it seals properly and will not work loose. But don’t tighten it so much that you will be unable to easily remove it again.
Do your final checks before starting up
Before starting the engine, remove the tray with the old oil from beneath the car. Decant this old oil into a container which will enable you to transport the old oil to a workshop where they have drums for recycling old engine oil. Don’t ever dig a hole to throw the old oil into the garden, as this is a sure way to pollute the ground water in your area!
Check the oil level again, and that the sump plug is tight. The engine should start instantly and run smoothly, with no oil leaks.