



The Porsche 718 Cayman was launched a few weeks later than its drop-top sibling, the Porsche 718 Boxter. The Cayman and Boxter is the entry point to the German automaker's 2-door sports models and first utilized a 4-cylinder boxer motor as motivation. Currently, Porsche offers the GTS and GT4 models, both of which is fitted with a 4.0-litre, 6-cylinder boxer engine.
Related: Porsche 718 Cayman GT4 (2020): Bringing back the sonorous flat-six
Not only is the Cayman and Boxter models smaller and lighter than the 911 models, but where the latter see the fitment of its engine at the very rear, the Cayman and Boxter feature a mid-mounted motor, just behind the cabin firewall. The 718 models are also styled different from the flagship 911 models, however, retains distinct Porsche designs and is easily recognizable.
What are you going to need?
- Memory saver (Recommended)
- T30 Torx Bit
- Nr 13 spanner
- Nr 10 spanner
- Replacement battery
Step 1 (Recommended)
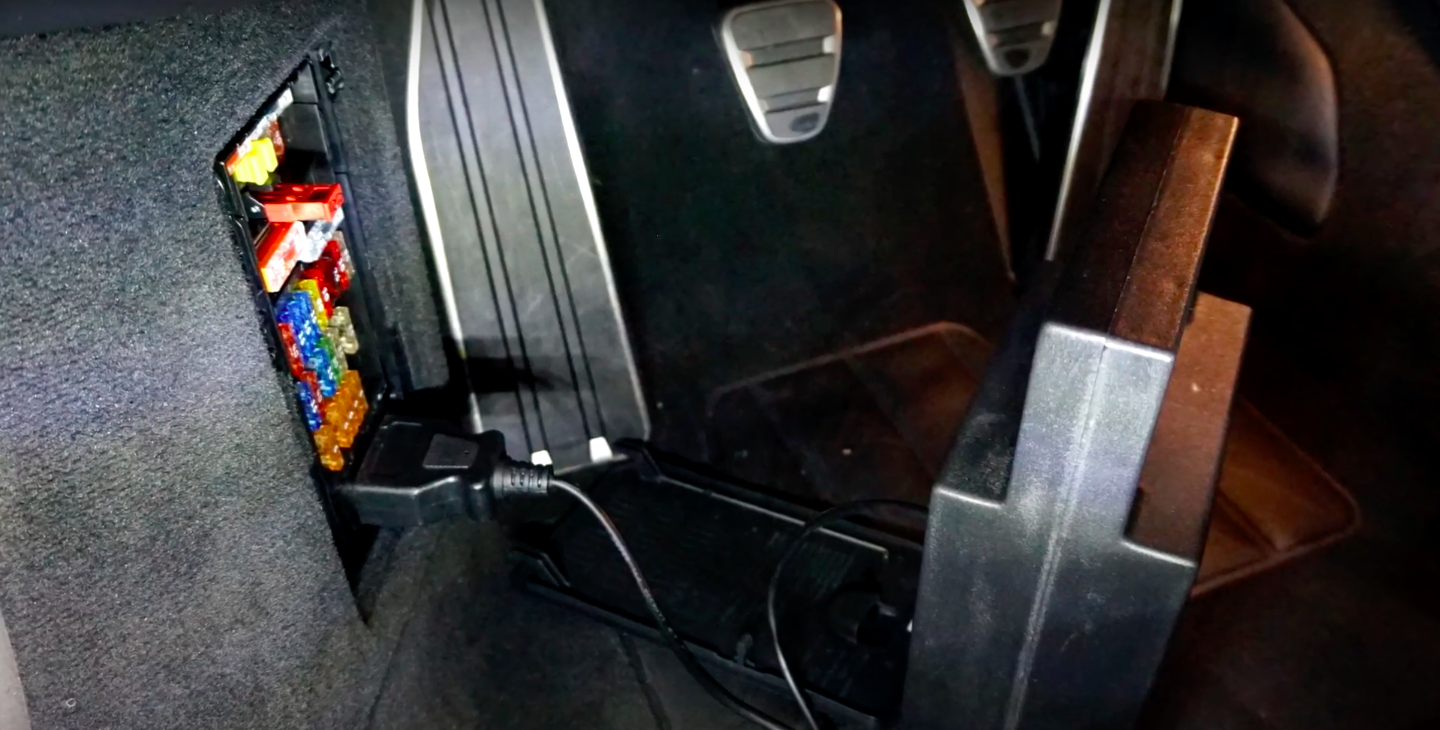
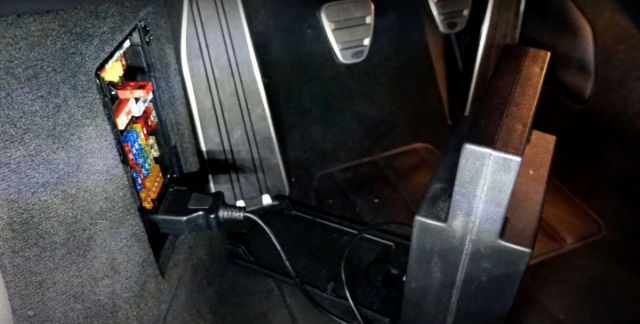
Locate the fuse box in the footwell of your Porsche 718 Cayman. Connect a memory saver to the vehicle's harness, this will keep all the computers going while your battery is disconnected and saves the owner for having to reprogrammed the clock and radio settings.
Step 2
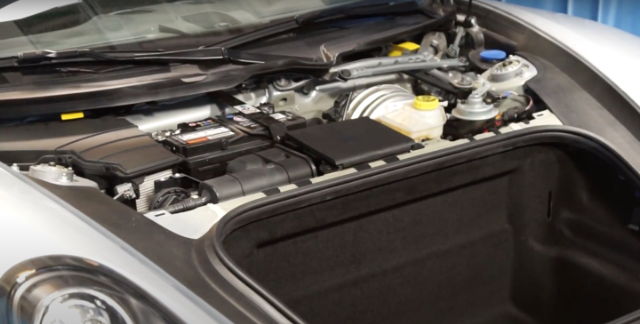
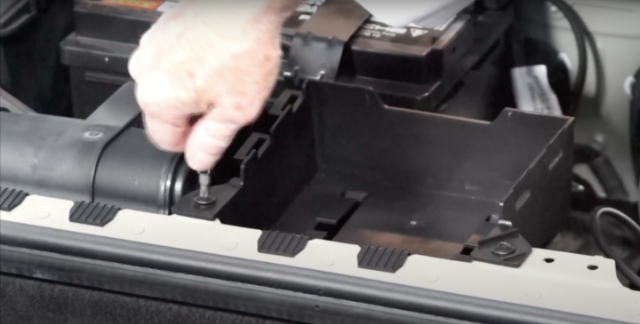
Open the bonnet of your vehicle and remove the clip-in protective cover. Remove your emergency tyre inflator kit and using the T30 Torx bit, remove the plastic housing for the emergency tyre inflator.
Step 3
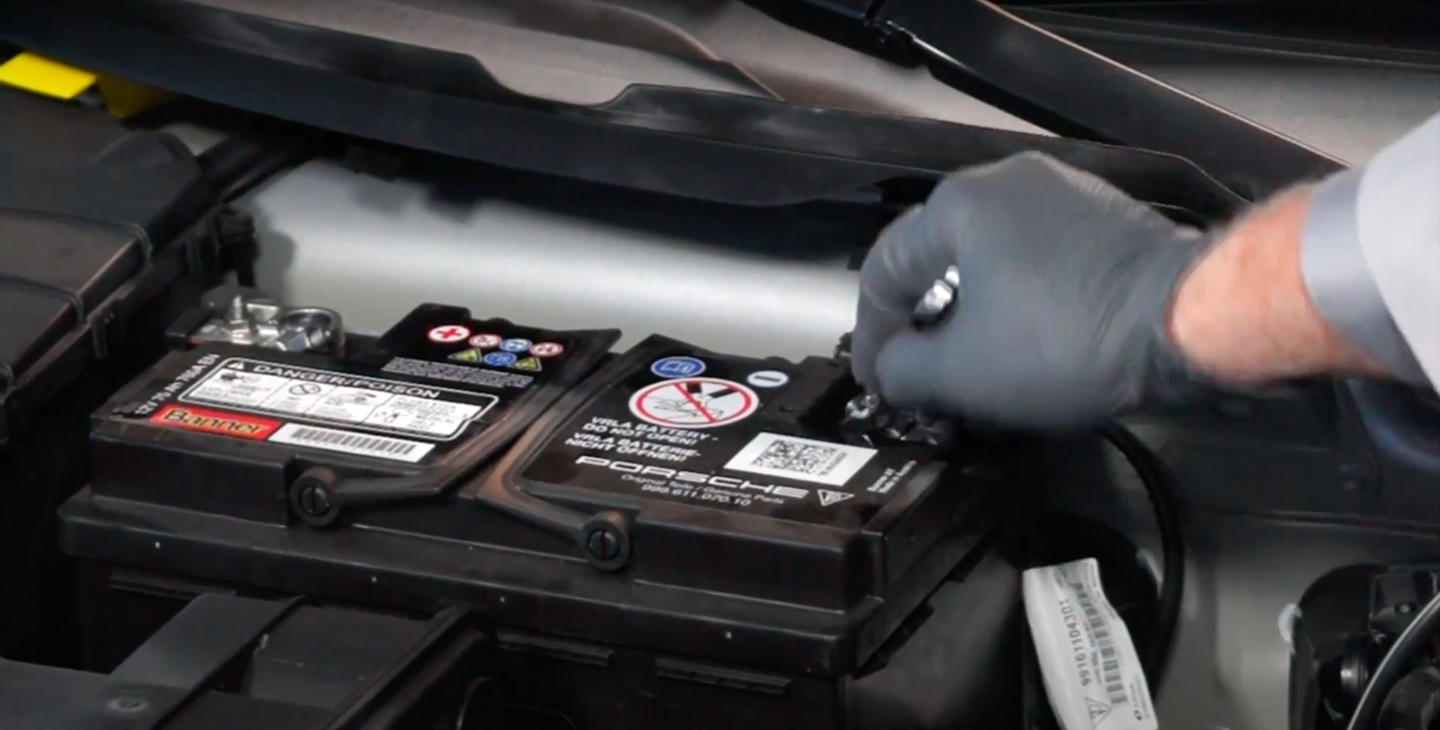
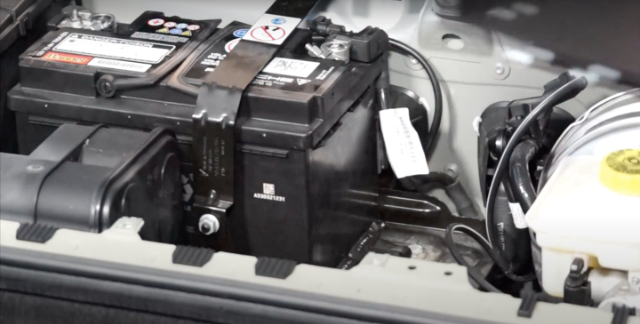
Using the Nr 13 spanner, undo the battery hold-down strap. One screw is located at the front and easily accessible while the other is at the top and slightly more difficult to undo. Next is the hold-down plate situated on the bottom. This plate will require the same Nr 13 spanner.
Step 4
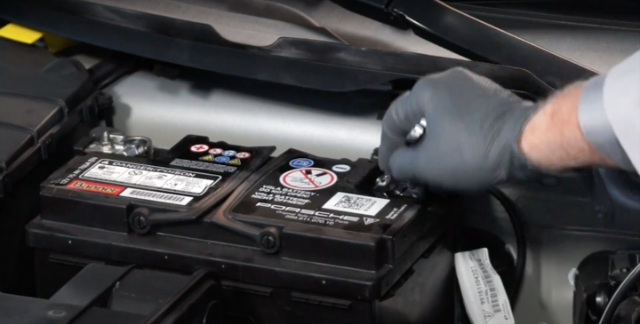
Using an Nr 10 spanner, undo the negative battery point. This is usually indicated with a - symbol or if one cable is red and the other black, it will be the black cable. Once the negative cable is undone you can proceed to the positive point which is usually indicated with a + symbol or the colour red.
Step 5
Now that all the hold-down straps and plates are removed and both cables disconnected, you can proceed to remove the old battery from the vehicle. Take note of cables that could hook onto the battery. Also, most batteries are quite heavy and could result in strain in your back or arms.
Step 6
Install the new battery into the same place as the old unit. Once installed, you can connect the cables starting with the positive cable and then the negative. Do not pound on the connectors while fitting as the pounding could cause damage to the battery internals.
Step 7
Once both cables are securely connected, proceed to install the hold-down plate and strap as well as the emergency tyre inflator container. One everything is installed and back in its place, you can proceed to remove the memory saver.
Recommended
This article serves as a guide only and small changes could apply to different derivatives and or model years. Owners should always consult your owners' manual. It is always recommended for owners to consult a dealership first before attempting to replace any parts on their vehicle and where possible to rather let the professionals do the job.
Recommended next: