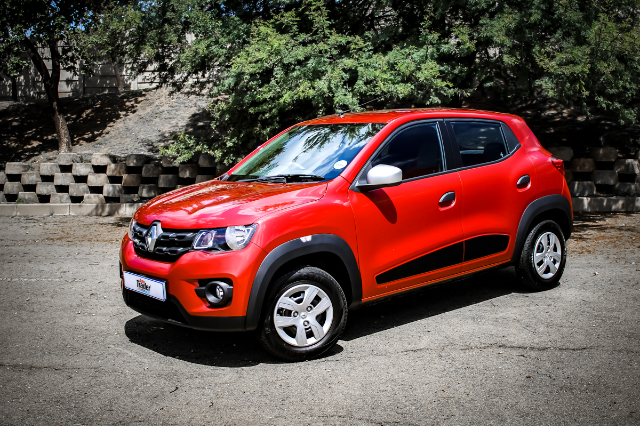
Renault's friendly Kwid can be seen all over the roads and since its introduction in 2016, it has become a sales success. It's easy to see why. It's an affordable vehicle with low running costs and enough creature comforts to please even the discerning motorist.
Cheap motoring isn't free motoring and sooner or later you're going to have to replace some parts. Headlight bulbs are one of those items that don't last forever. Whether they're at the end of their lifespan or a nasty bump in the road broke the filament, you can replace them for very little money and save some in the process by doing it yourself.
Related: Suzuki Celerio vs Renault Kwid vs Datsun Go: Which has the lowest running costs?
Here's how to go about it.
You will need:
A new set of H4 halogen bulbs
10 minutes to spare
How to:
1. Switch off the car and remove the keys from the ignition. Ensure the lights are off.
2. Unlatch the bonnet by pulling the bonnet release handle inside the car.
3. Open the bonnet and secure it in the open position with the stay.
4. Locate the electric plug on the rear of the headlight housing.
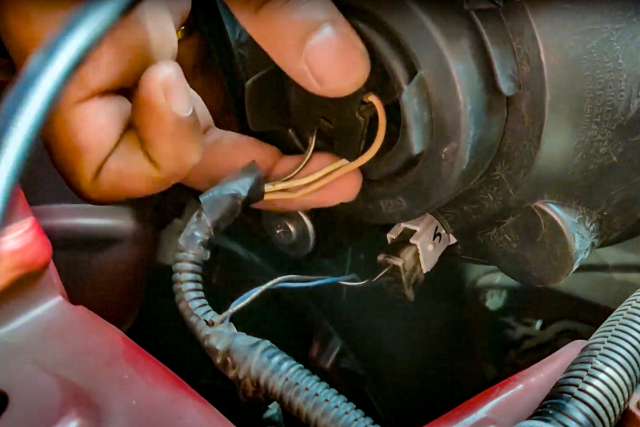
5. Remove the plug by pulling it away from the headlight. You may need to wiggle it to get it off the pins.

6. Next, remove the rubber surround by pulling on the supplied tabs.
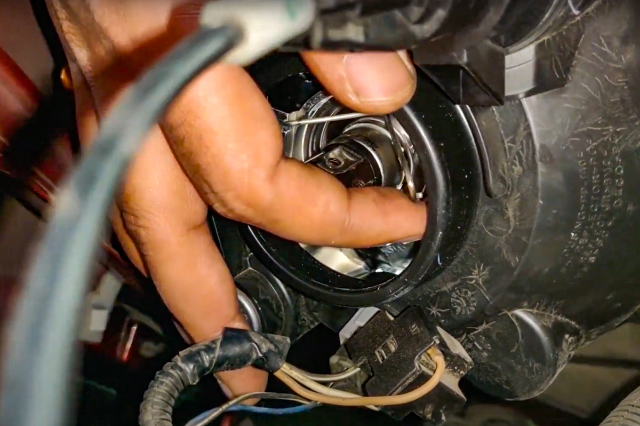
7. Unclip the retaining spring that holds the bulb in place.

8. Remove the bulb by pulling it outwards, away from the glass of the headlight.
9. Insert the new bulb, taking care not to touch the glass portion of it and ensuring that it seats properly in the housing.
10. Replace the retaining spring.
11. Replace the rubber surround.
12. Reattach the electrical plug on the rear.
13. Test the lights. Repeat on the opposite side to ensure that you have matching lightbulbs.
Screenshots courtesy of ReviewJournal. Watch their video here: DIY Renault Kwid Headlight Bulb, Parking Bulb upgrade
Recommended next: