
How to change a timing belt
How to change a timing belt



By Lawrence Minnie
One of the many critical maintenance items on your car lives deep within the bowels of the engine. The cam timing belt keeps engine’s top- and bottom sections synchronized, and needs to be replaced periodically, or you may face a serious problem down the line. The task of replacing this belt falls to seasoned mechanics, and every one will tell you that it’s not a job to take lightly. So sit back, strap in and let’s talk cam timing belts, how they work, and how to replace them.
WARNING! You should not attempt to replace your timing belt yourself if you do not have a very good working knowledge of an engine’s mechanical bits. This type of work will require specialized equipment, manuals, and tools, and should not be taken on by a novice DIY’er. Serious engine damage may occur if done incorrectly.
The four-stroke petrol engine runs in a very simple way: suck, squeeze, bang, blow. Essentially, the piston travels downwards in the cylinder, sucking in a mixture of fuel and air, the inlet valve closes, and the piston travels back up to compress this mixture. When the piston reaches the top of the cylinder, the spark plug ignites the compressed mixture, and the ensuing explosion forces the piston back down, creating the power we all crave so much. When the piston starts to return upwards, the exhaust valve opens and the burnt mix is expelled.
In order for this operation to occur, everything has to be timed exactly in sequence, and that is where the cam timing belt comes in. The belt runs around a number of toothed gears that are attached to shafts, which control different aspects of the four-stroke cycle.
The camshafts are one of these aspects, on some older engines ignition for the spark plugs is another, and the crankshaft (which determines the positions of the pistons) is another. Some manufacturers may also choose to include the water pump or oil pump in the queue to be driven by the cam belt. By positioning each one of these shafts at a specific timed position and then connecting all of them with a tensioned belt, you can very effectively set your engine’s timing.
Unfortunately, these timing belts have a finite lifespan, and should be replaced every 100 000km (or even earlier, depending on your car’s service requirements). Failure to replace the belt on schedule could result in a breakdown, which may have catastrophic consequences for the engine. These consequences could be anything from bent valves to cracked engine blocks to destroyed pistons, and that it is why cam belt replacement is an essential part of preventative maintenance on your vehicle.
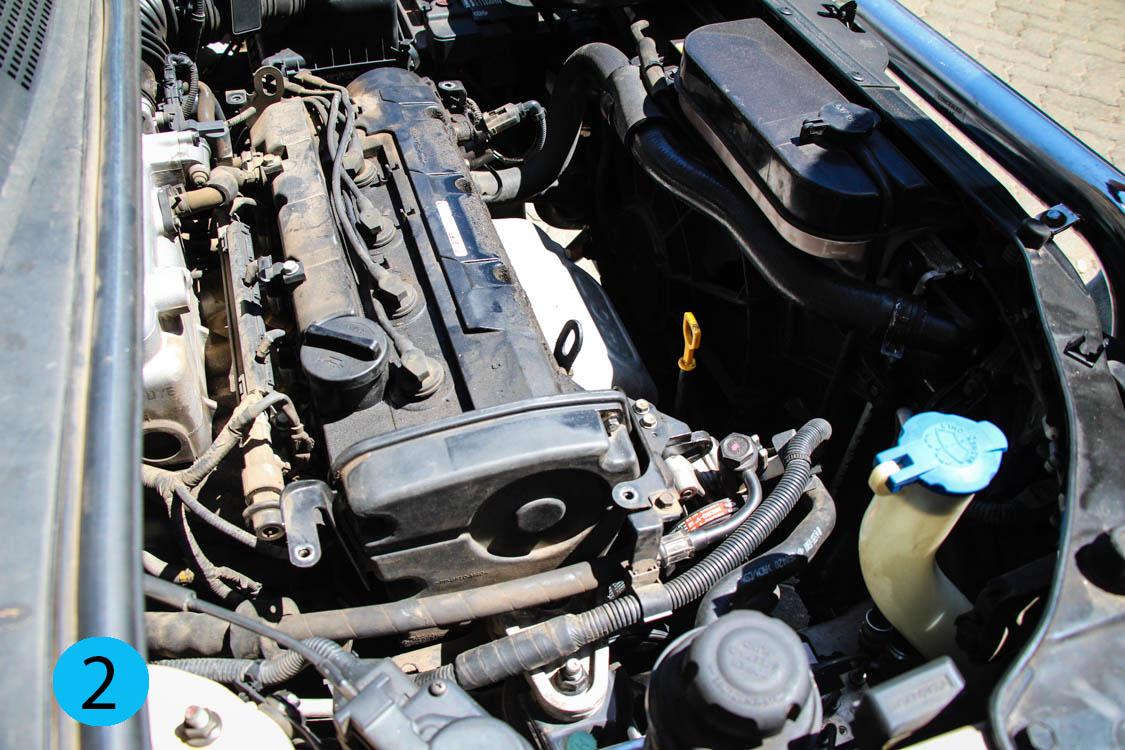
Changing a cam timing belt is a relatively simple procedure, but it’s getting to it that presents the problem. The cam timing belt is more often than not hidden within the recesses of the engine itself, and will require you to remove a number of essential components such as external drive belts, pulleys, pumps, covers and (in some cases) engine mountings.
Because it is such a labour intensive job, mechanics and service centres charge a considerable amount for the work required, leaving many to wonder if they could just do it themselves.
Because it would be virtually impossible to give you a step by step instructional on how to do the job in your car, as every make and model is different, we chose to give you an overview of what may be required to do this job yourself.
1. Buy your new cam belt. Rather get OEM parts here, as going cheap could be disastrous! There are some good-quality non-OEM belts available on the aftermarket, but first do some research to determine how well those belts hold up in your specific engine – the internet is your friend, and you will likely find this information in a forum somewhere.
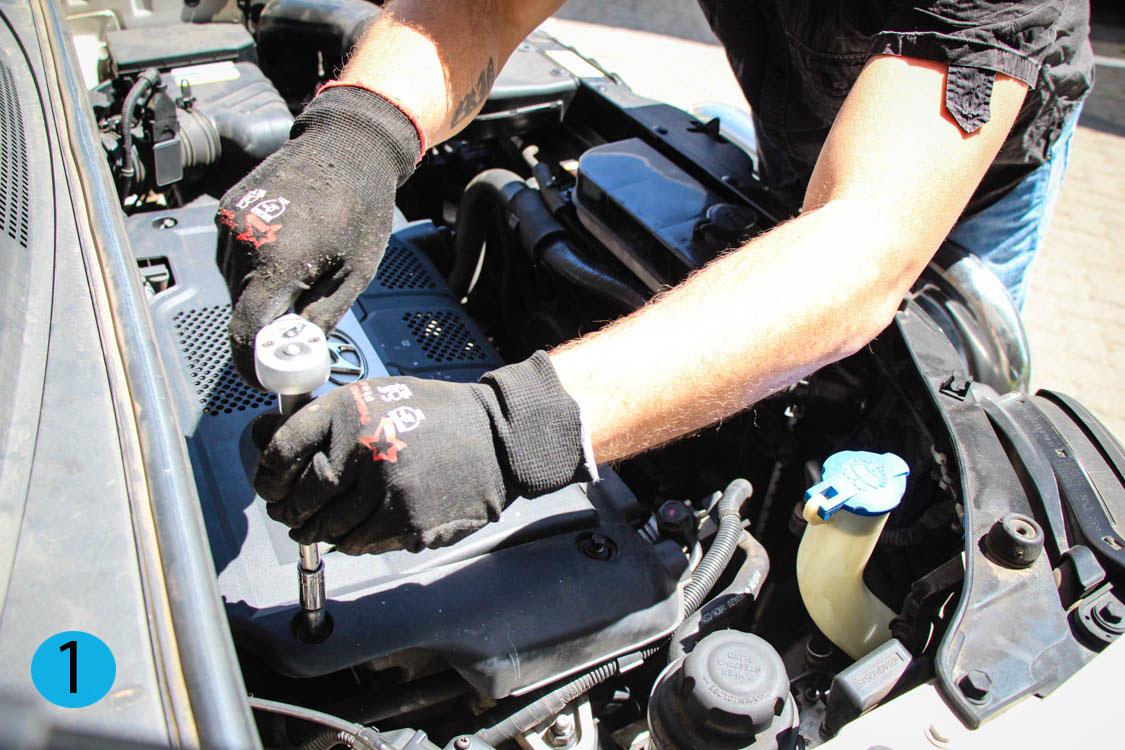
2. You will need to follow the instructions in your workshop manual to strip the relevant components from the engine, before removing the covers that let you gain access to the belt. Some OEMs say it is easier to remove the engine from the car to do the work, but it can be done in situ – you will just need more patience and small hands.
3. Once the belt is completely exposed, begin by rotating the engine by hand until the timing marks on the toothed gears line up with the timing marks inscribed on the engine block and/or cylinder head.
4. On almost all cars, the crank pulley will need to be removed and this is no small task, even with an air impact gun. Once all the pulleys are removed you can then release the tensioner and carefully, without shifting the toothed gears, remove the old belt.
5. Install the new belt in the required sequence and lightly apply the tensioner. Also remember that some cars require a new cam belt tensioner and/or idler pulleys along with the new belt, and if the water pump is driven by the cam belt, now would be a good time to replace it as well.
6. Tighten the tensioner to spec and then rotate the engine by hand, by turning the crankshaft through roughly 25 degrees, before returning it to the timing marks. Check that all the marks (on both the crankshaft and the camshaft) are still aligned.
7. Check the tension of the new belt accordingly, with a tension gauge.
8. Begin the laborious task of refitting the covers and all the essential parts of the engine.